Friday, September 30, 2011

Spooky Drippy Halloween Candles!

In between school and taking care of that house/dog/husband (yes, in that order!) I have been working non-stop to get our home into the Halloween spirit!  I really loved the idea of having drippy candles that look like they have been lit for FOREVER on my mantle.  I searched high and I searched low and came to the conclusion that a tutorial for these things did not exist!  So, what did I do?  I made my own (and took pictures like any good blogger should!)!

These were really cheap and easy to make!

Supplies that you are going to need:

A Pot

Wax Tarts

Pillar Candles

Wax paper

Tinfoil

Spoon/Scooper


All of my supplies came from my kitchen or the dollar store.  I did however get an old pot from the thrift store.  I think it cost me around $2.50.


Gather all of your materials and take a pretty picture:


I got the pillar candles and the wax tarts at the dollar store in the candle/fragrance aisle.  There are three tarts in a pack, so I just winged it and bought two packages thinking that would be enough.  If you want, you could even use old candles that are too short to burn or candles that you just don't want anymore a.k.a., the is a great way to guiltlessly get rid of your old candles that you can't bring yourself to throw out.  I wanted mine to be white (although they are kinda off-white) so I went ahead and bought some new ones.


You want to make sure that before you do anything you wrap up the wicks of the candles.  I wrapped mine in tinfoil and it seemed to work fine.  If you don't, you are likely to pour wax all over the wick, making the candle unburnable (yes, I just made that word up, and no, I did not learn this from experience.....).


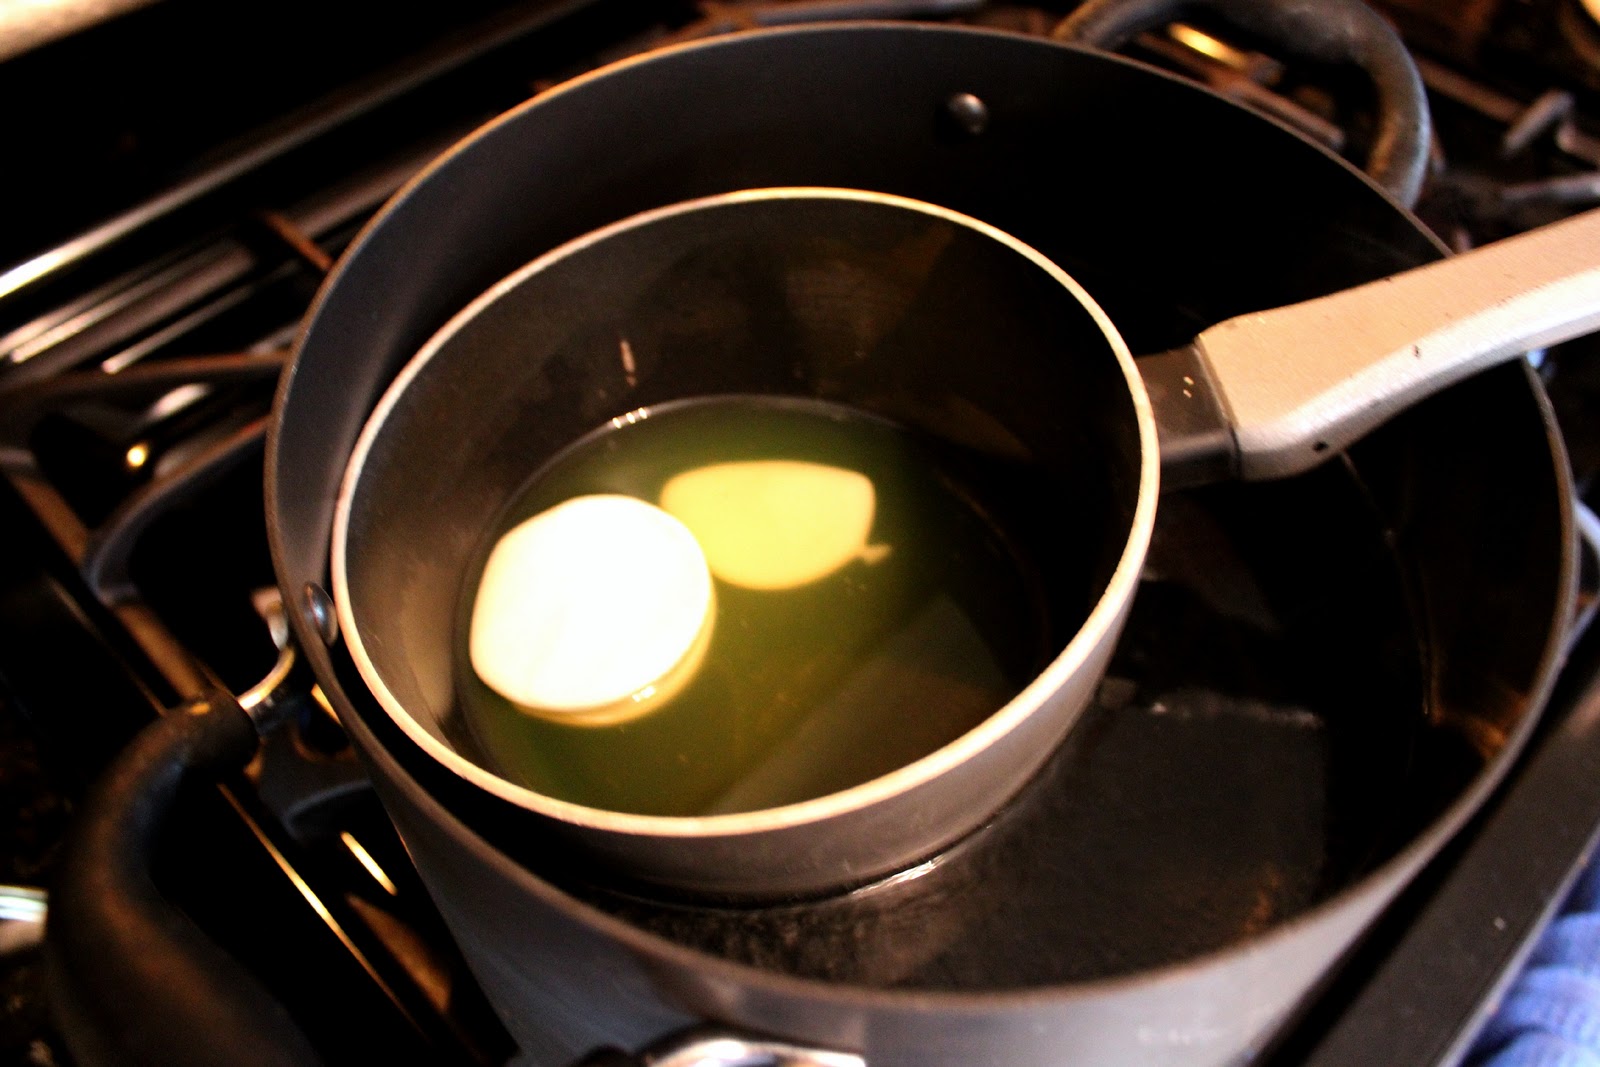
Next you are going to make a double boiler using your pot that you don't care about getting wax all over and another pot big.  Make sure that it is large enough to place the wax-burning pot in it.  Bring some water to a boil and add the wax tarts you got into the upper, wax-melting, pot.  Once the water boils, you can bring the temperature down.  

***Warning: melting wax is VERY dangerous and should be done VERY carefully.


Once the wax is melted, turn the burner off.  For some reason, my wax looks green in the picture....


Slowly pour the wax onto the pillar candles.  For this, I used an old coffee scoop that I found in my junk drawer.  Make sure that whatever surface you are working on is covered in wax paper.  Dried wax on countertops = bad.  


The longer the wax has been off the heat, the easier it is to control.  Keeping that in mind, don't let it sit too long to the point where it hardens and you have to repeat the melting process all over again.  I would say to wait a good 20 seconds and your drips will be perfect.  Have fun with it.  The will not and should not look perfect!


Here they are on my Halloween mantle during the day.  I love them!


Here they are at night!  So spooky!


I hope everyone enjoyed the tutorial!  Be on the lookout next week for some halloween decorations my hubby and I plan on making this weekend!

Halloween Wreath

Everyone and their momma is making fall/halloween wreaths this season.  After sporting my cute summer wreath for four months, I decided it was time for a change.  I set out to the craft store and dollar store and came up with this beauty!


Disregard the glare: clearly my windows are clean.

I call this wreath my 'mummy halloween wreath'.  I did not take pictures of the process (but really, there doesn't need to be any this wreath is so simple!).  Blogger fail.


Start by getting a wreath from the craft store.  I tend to get the cheap straw ones as opposed to the foam forms.  They are SUPER expensive.

Take a piece of muslin and make a tiny snip at the edge of the seam.  Make sure that the cut runs with the grain of the fabric.  Rip away!  Using this technique makes this part go really quickly, the strips are straight, and you don't spend hours cutting.

Wrap the strips around the wreath, tacking them at the back of the wreath using your hot glue gun (this is obvi the mummy part).  

I made some cute rosettes out of felt in colors that I thought were halloweeny, and made some halloween bunting.  Attaching all of the decorative elements, including a dollar store crow, finished off the look.

Lastly, I took some dollar store spider web cotton stuff (that's what I am calling it, get over it) and strategically placed it on the wreath to give it that spooky effect!  Hang the wreath, stand back, and enjoy!


Did you create a fall/halloween wreath this year?

Okay, No Really, We're Back!

Fail.


Thanks everyone for hanging in there.  Things have been a little crazy since the wedding with law school starting up, another wedding coming up, and a TON of DIY craftiness.  BUT, I am here to tell ya'll that we are officially back and better than ever!

Because I left everyone hanging on what our wedding was actually like.  I decided that the first post back would be my last wedding one.  All images are courtesy of the amazing KortneeKate Photography.  She and her adorable husband Ted shot our wedding photos and did a fantastic job!  Why don't I just let the pictures speak for themselves? Warning, post is VERY photo heavy!


My soon to be husband being all cute while getting ready.


The all love each other


THE dress!


I hand stitched APK into my dress for my hubby and my 'something blue'.


I told my stylist to make me look like a 'hippie goddess'.  I think she got it down!


Our first look at each other!


the boys.


That's my husband!


We're married!


the ladies!

 us

my flowers


The menu that I created using an old window, some paint, a sander, and a sharpie (props to my sister for actually writing out the menu)!


Cake!  Thanks to my father-in-law and brother-in-law for cutting the stand for me!


The sign I made to tell guests where to go.  It was so easy it does not even need a tutorial!


I told him I wouldn't shove the cake in his face.  Opps, I lied.


Fowers


Tossing the bouquet.


Dance party!  Or just Hark the Sound!


Yep, it's official, we're married!

Thanks for hanging in there during my hiatus!  Hope you enjoyed my wedding pics!